How to Draw Ribbon Through Lines in Paper
The ribbon is a long, narrow strip of fabric most commonly used for tying something or for decoration.
Ribbons have many purposes, so learning how to draw one may come in handy when drawing different things like a headband, a blouse, or perhaps a present!
To make it a lot easier for you, we have created a step-by-step tutorial on how to draw a ribbon.
This comprehensive guide consists of 9 easy instructions paired with simple illustrations that serve as your visual guide as you follow the steps one by one.
What's fun about this tutorial is that it enables you to customize the ribbon, including the patterns on the fabric as well as its colors.
Have fun creating an artistic ribbon!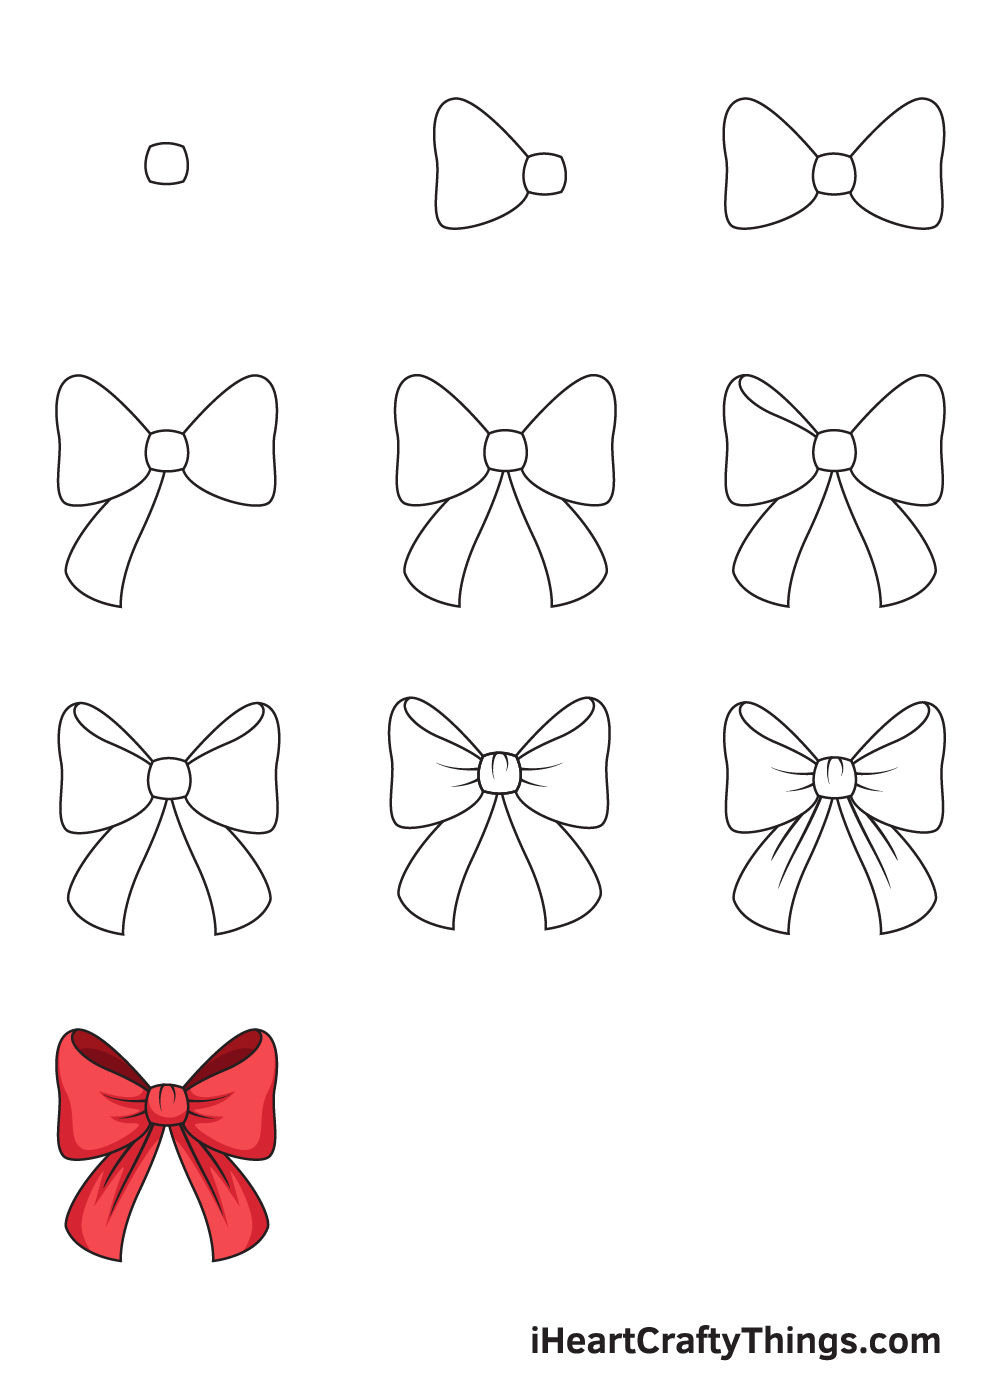
What's in this Blog Post
- How to Draw a Ribbon — Let's get started!
- Step 1
- Step 2 — Draw the Left Part of the Ribbon
- Step 3 — Draw the Right Side of the Ribbon
- Step 4 — Draw the Left Lace of the Ribbon
- Step 5 — Complete the Form of the Ribbon
- Step 6 — Draw the Dimensions on the Left Side
- Step 7 — Draw the Dimensions on the Right Side
- Step 8 — Add Some Patterns on the Bow of the Ribbon
- Step 9 — Add Some Patterns on the Laces of the Ribbon
- Your Ribbon Drawing is Complete!
How to Draw a Ribbon — Let's get started!
Step 1
Start drawing the ribbon by creating the middle part or the knotted part.
Create a square-ish-looking shape and this will form the knot.
Step 2 — Draw the Left Part of the Ribbon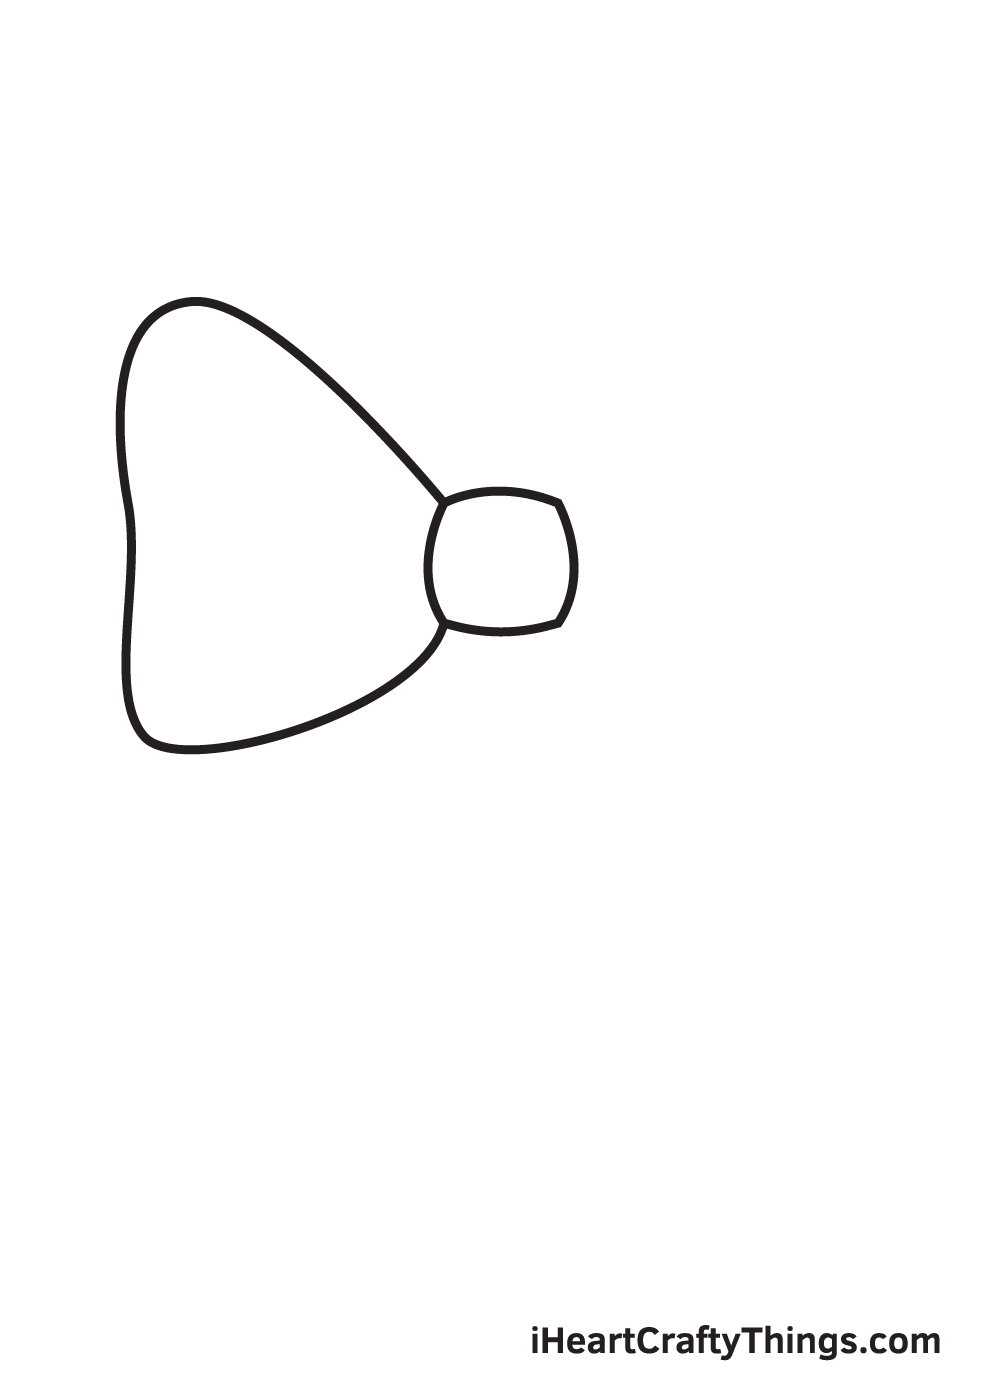
It is time to create the left side of the ribbon.
Draw a triangle-like shape for the left part of the ribbon, like the one in the illustration.
Step 3 — Draw the Right Side of the Ribbon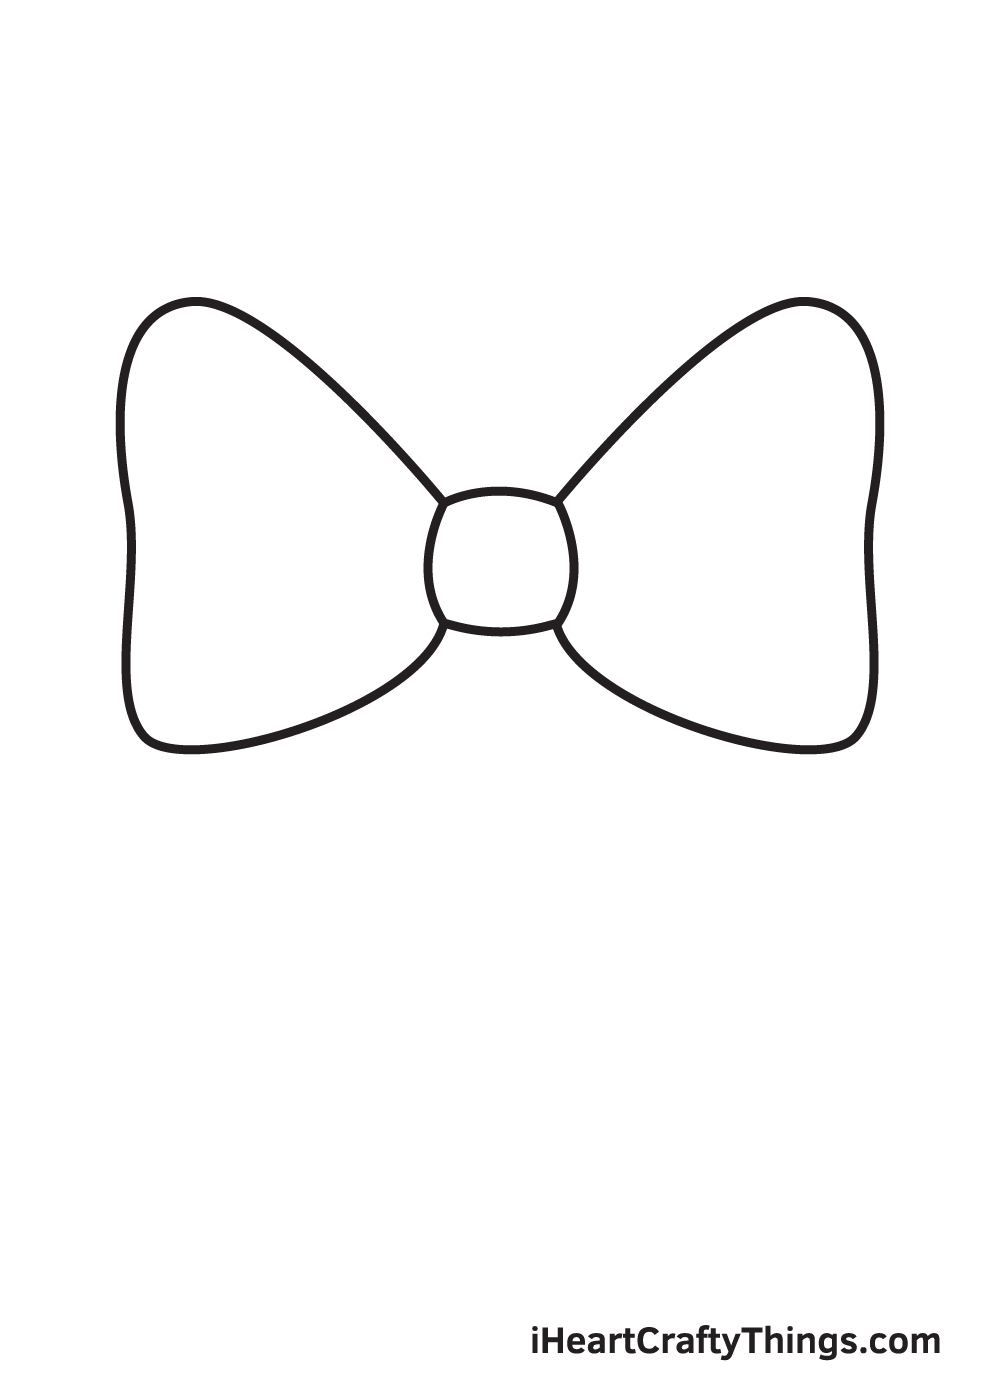
This is just like Step 2. But this time, you will draw the right part of the ribbon.
Again, draw a triangle-like shape.
Step 4 — Draw the Left Lace of the Ribbon
This step will form the end of the tie section of the ribbon.
This will look like another triangle-like shape just like the ones on Steps 2 and 3, except that those on Steps 2 and 3 are drawn horizontally while this new one will be drawn almost vertically.
Step 5 — Complete the Form of the Ribbon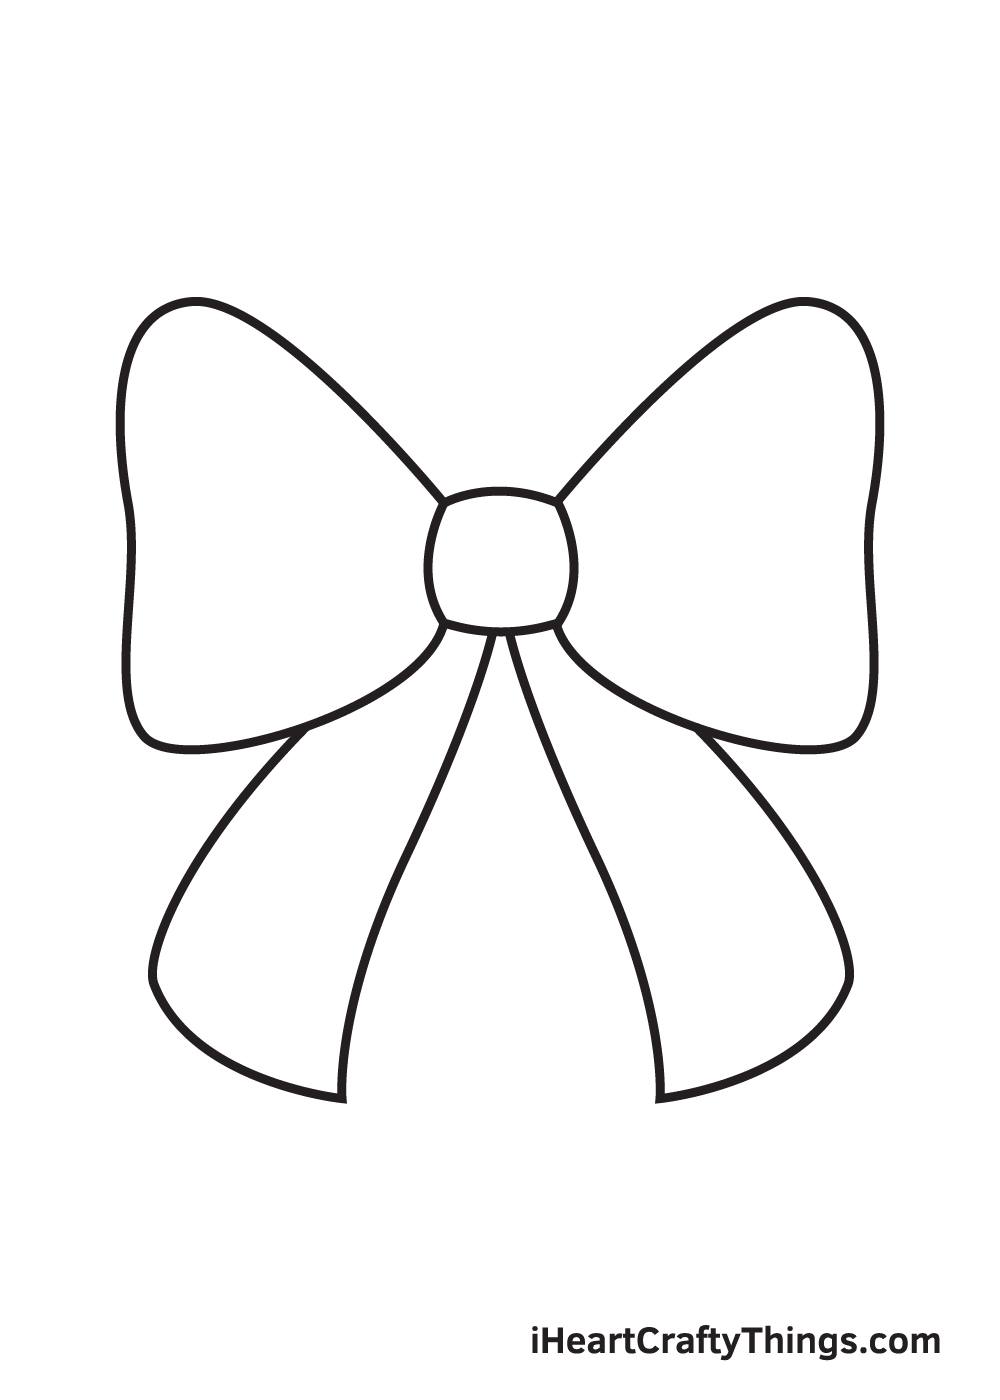
You drew the left side of the tie on Step 4. This time, you will do the same for the right side of the tie of the ribbon.
By now, you have created the main outline of the ribbon.
Step 6 — Draw the Dimensions on the Left Side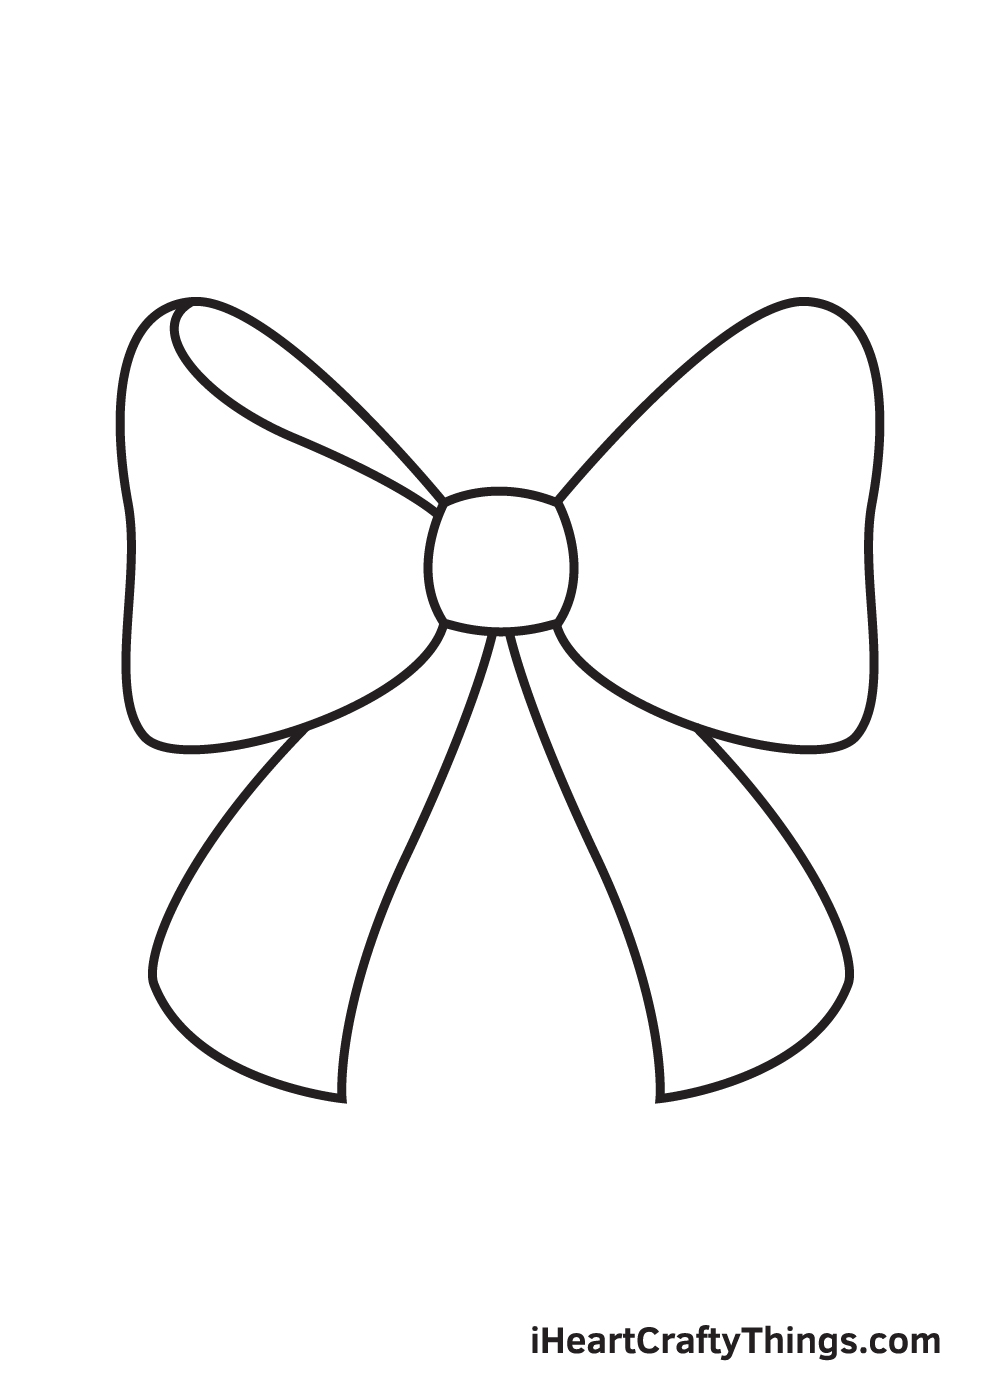
In this step, you will make your ribbon realistic by adding a fold to the top.
Draw a curved line connecting the top left of the section you drew on Step 2 to the top-left part of the section you drew on Step 1.
Step 7 — Draw the Dimensions on the Right Side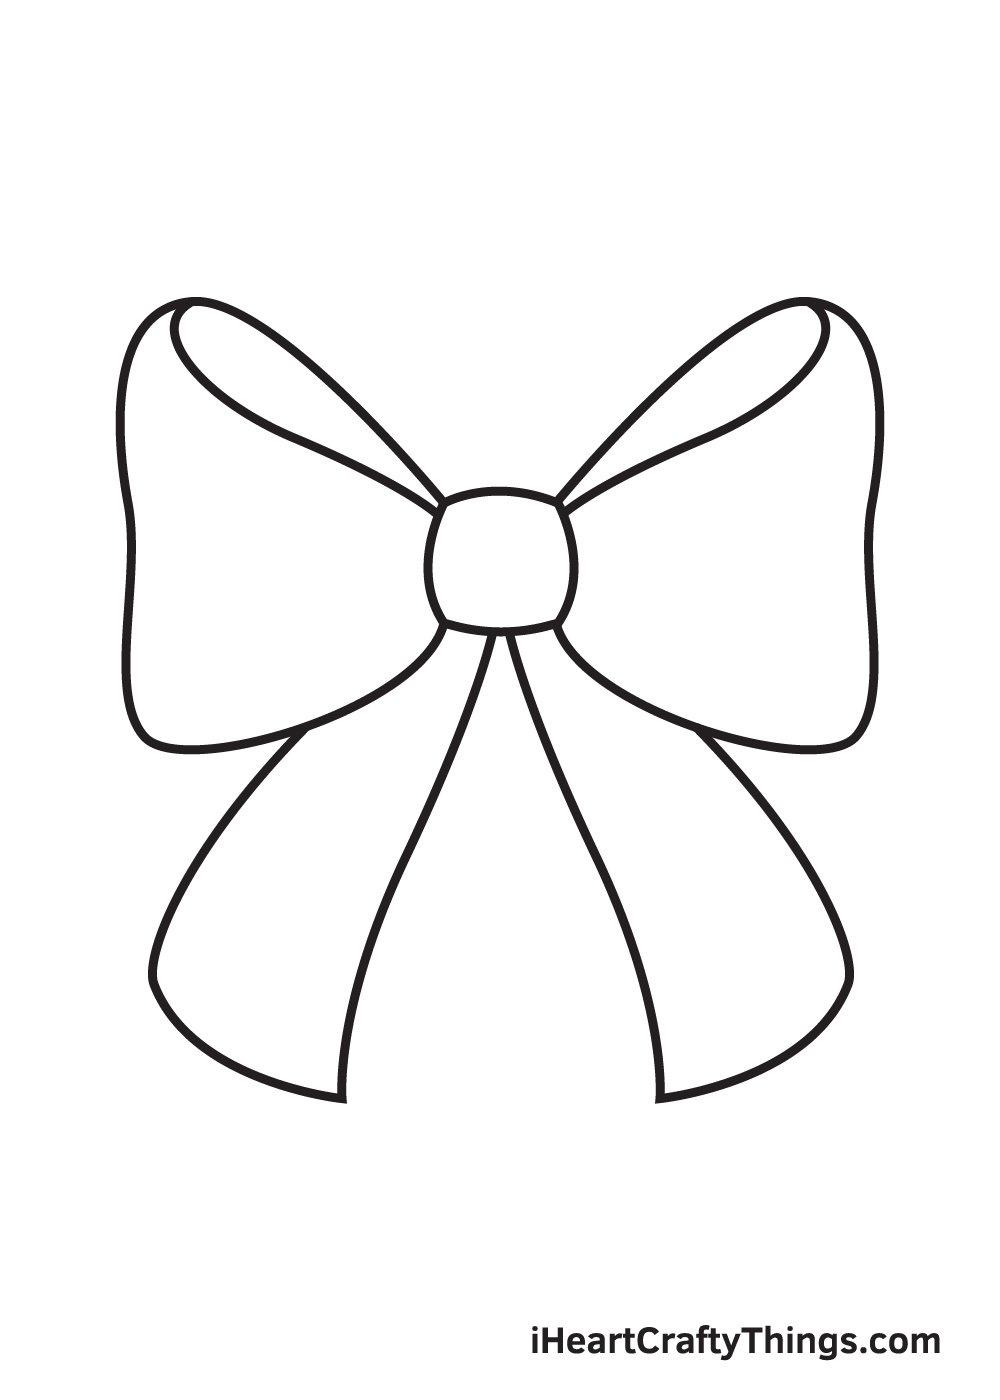
In this step, you will simply repeat what you did in Step 6.
But this time, you will do it for the right part (the one you drew on Step 3).
Step 8 — Add Some Patterns on the Bow of the Ribbon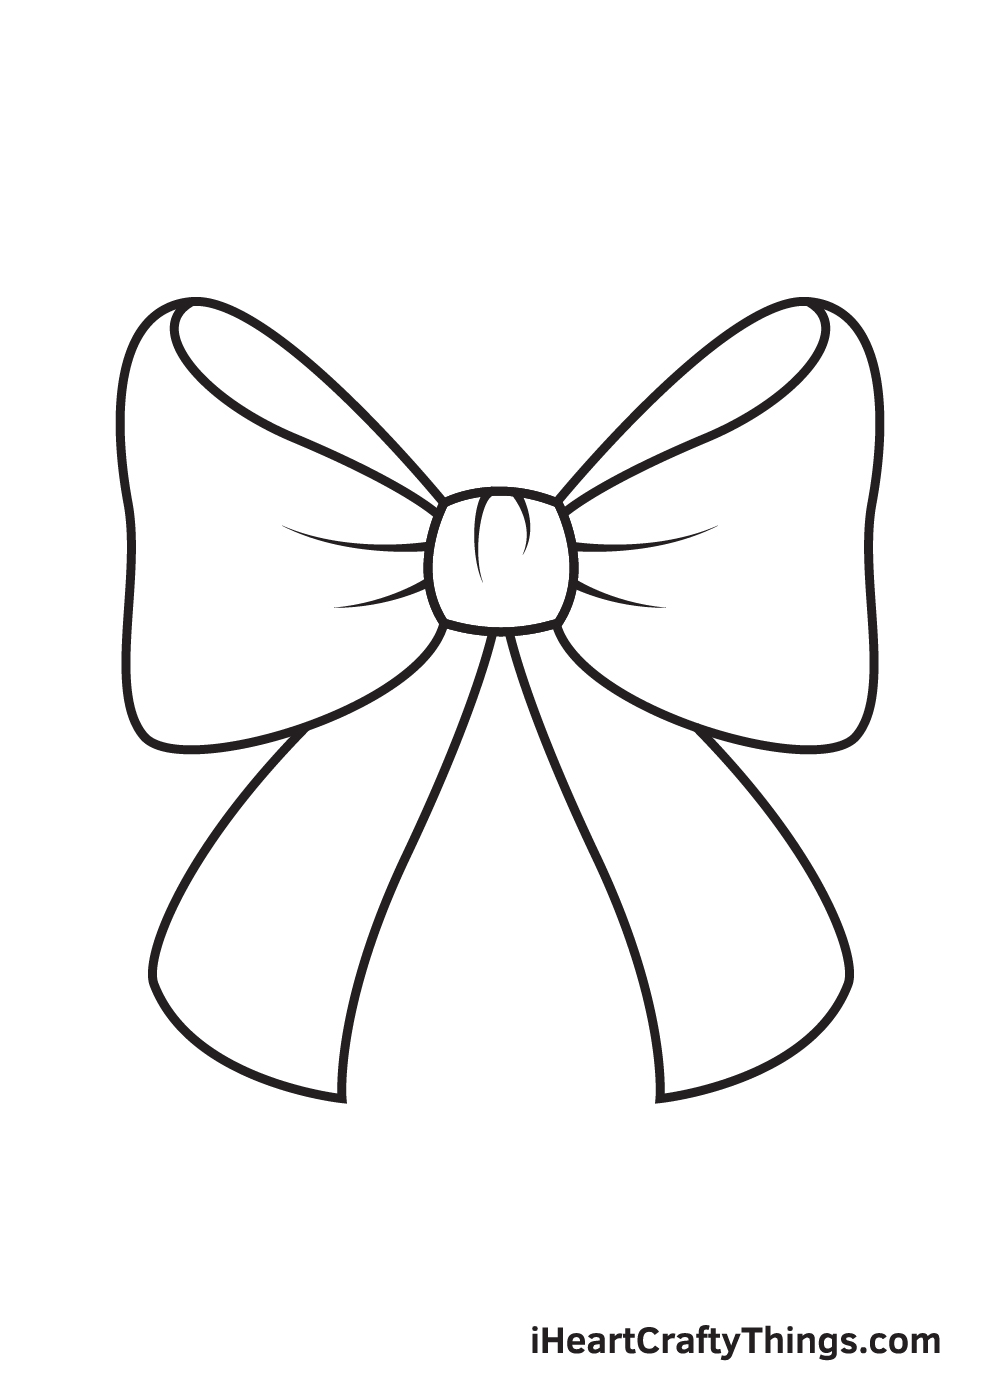
You will make the ribbon look more realistic by adding a "tight knot" effect.
You will draw short curved lines in two ways: horizontally on the outer edge of the square (Step 1) and vertically inside the same square.
Step 9 — Add Some Patterns on the Laces of the Ribbon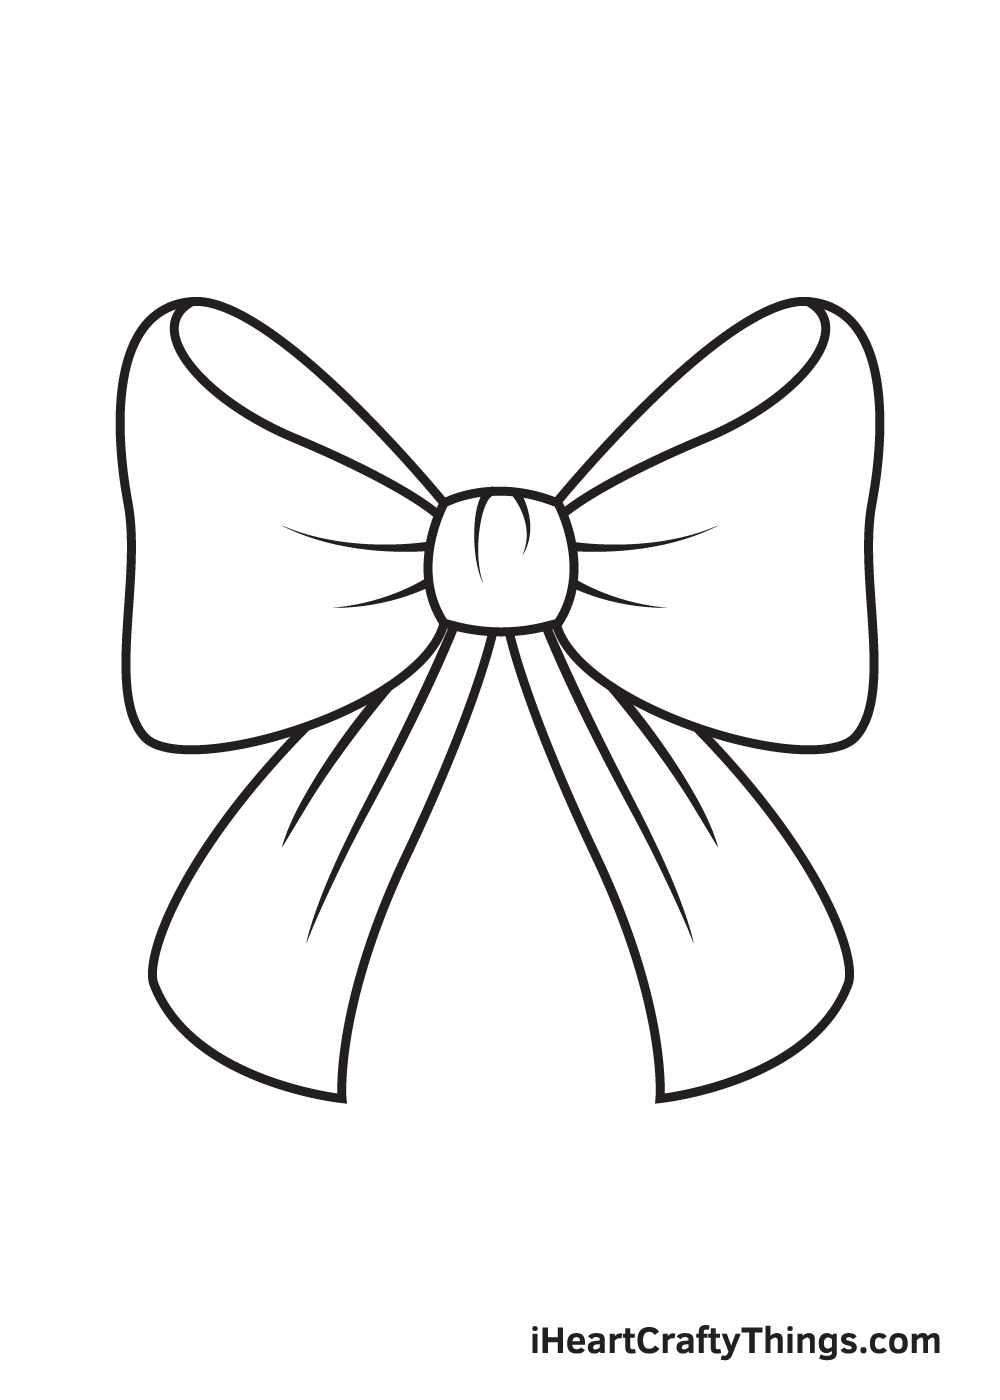
You will repeat what you did on Step 8.
But this time, you will add longer curved, diagonal lines inside the sections you drew on Steps 4 and 5, as seen in the illustration.
It's time to make this ribbon look prettier than it currently looks by adding color! Add tints of red or pink on all sections of the ribbon.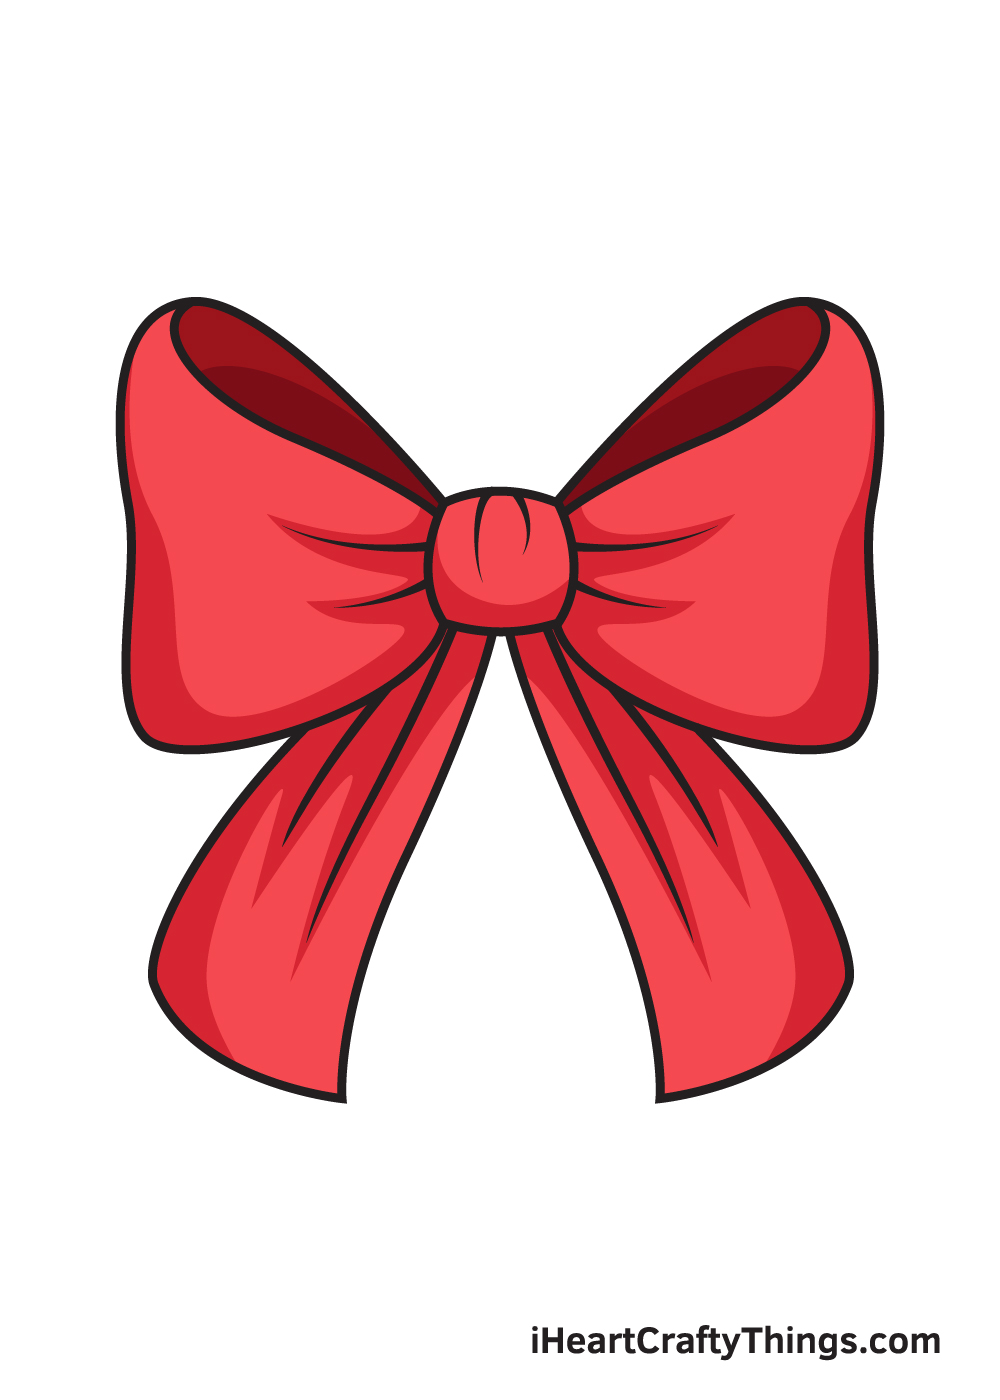
Your Ribbon Drawing is Complete!
We hope you had an amazing time drawing a ribbon with this step-by-step drawing tutorial. Now that you can draw a ribbon, perhaps you can draw a girl with a ribbon at the top of her head or wearing a stylish blouse adorned with a ribbon next?
Remember, all of our drawing tutorials are 100% free for you to use as learning materials in your drawing activities.
We are regularly updating our "How to Draw" catalog, so don't forget to keep checking back to continuously learn how to draw something new!
Drawing a ribbon successfully is a milestone, so you should feel proud of yourself for completing a masterpiece!
Take a photo of your artwork and share it on various social media platforms. And while you're at it, we hope you take the time to like our Facebook page too!
We would love to see your realistic ribbon drawing!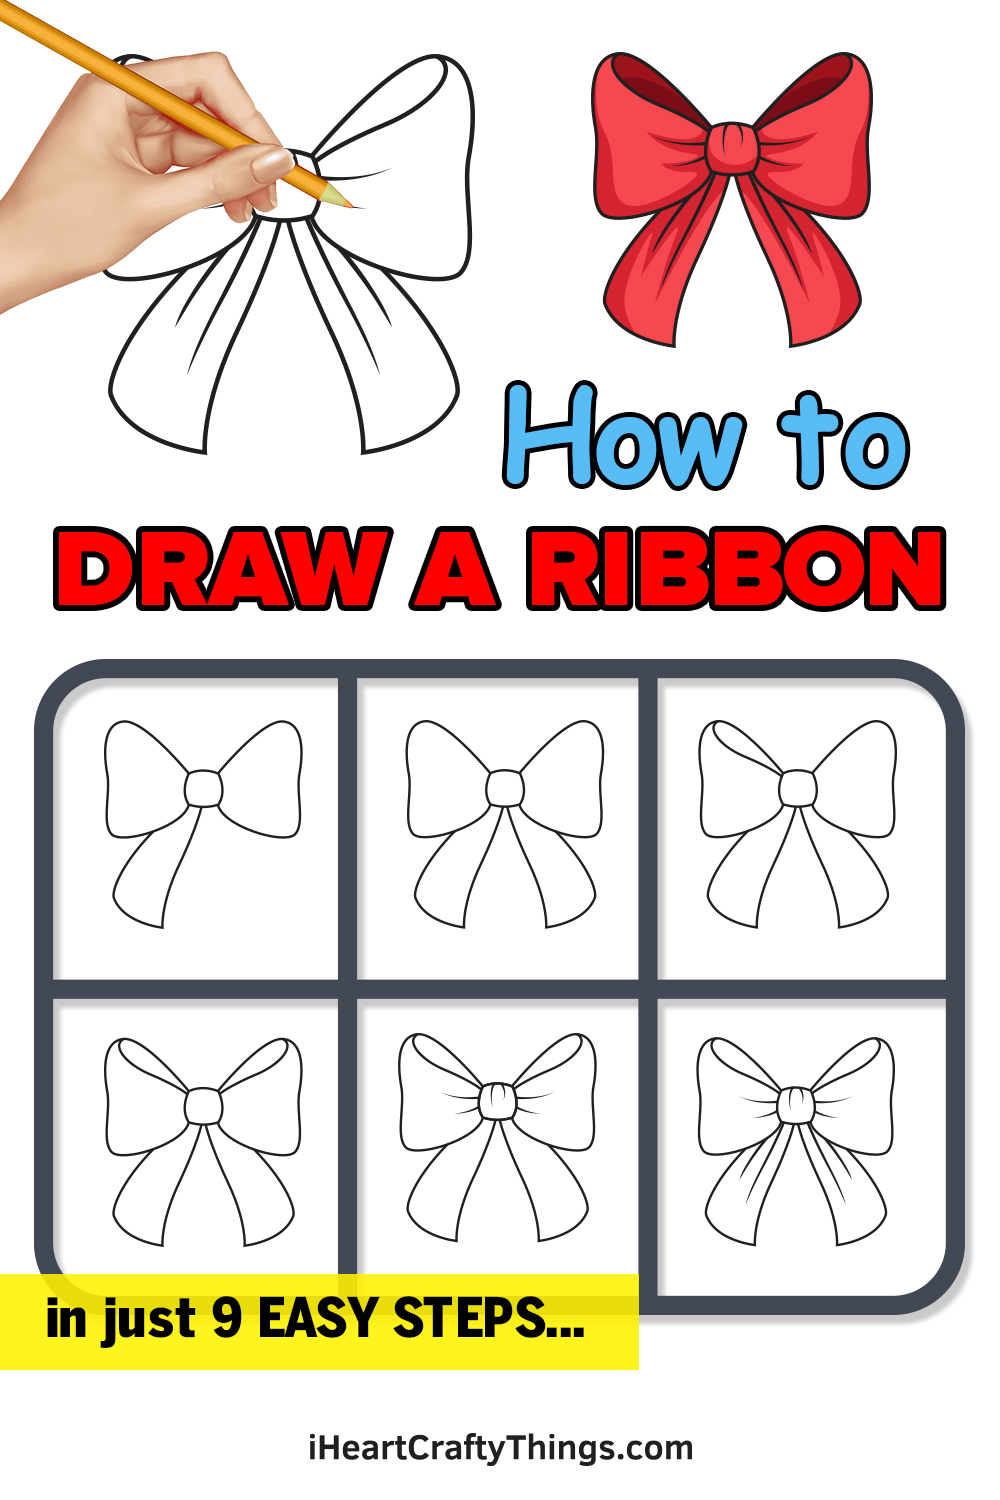
How to Draw Ribbon Through Lines in Paper
Source: https://iheartcraftythings.com/ribbon-drawing.html
Postar um comentário for "How to Draw Ribbon Through Lines in Paper"